
Laravel Nova: The Admin Panel You Need
The Admin Panel You Need
In this tutorial, we’ll explore Laravel Nova, a powerful and elegant administration panel for Laravel applications. Laravel Nova streamlines the process of building admin interfaces, allowing you to focus on creating outstanding web applications. By the end of this tutorial, you’ll have a good understanding of how to set up and use Laravel Nova in your Laravel projects.
Prerequisites
Before we get started, ensure that you have the these prerequisites installed on your system:
- Laravel
- A Laravel project (You can create one using
composer create-project --prefer-dist laravel/laravel project-name)
Easy: Installing Laravel Nova
Step 1: Purchase Laravel Nova
Laravel Nova is a premium package, so you need to purchase a license from the Laravel Nova website.
Step 2: Install Nova
Once you have a license, you can install Laravel Nova using Composer:
composer require laravel/nova
Step 3: Register Nova
After installing Nova, register it in your Laravel application by adding the following line to your config/app.php file within the providers array:
'providers' => [

    // ...

    Laravel\Nova\NovaServiceProvider::class,

],
Step 4: Publish Configuration and Assets
Run the following Artisan command to publish the Nova configuration and assets:
php artisan nova:install
Step 5: Set Up Nova Resources
Now, you can define Nova resources for your models. Nova resources define how your models are displayed and managed in the admin panel. Run the following command to create a Nova resource for a specific model:
php artisan nova:resource ModelName
Replace the ModelName with the name of your model.
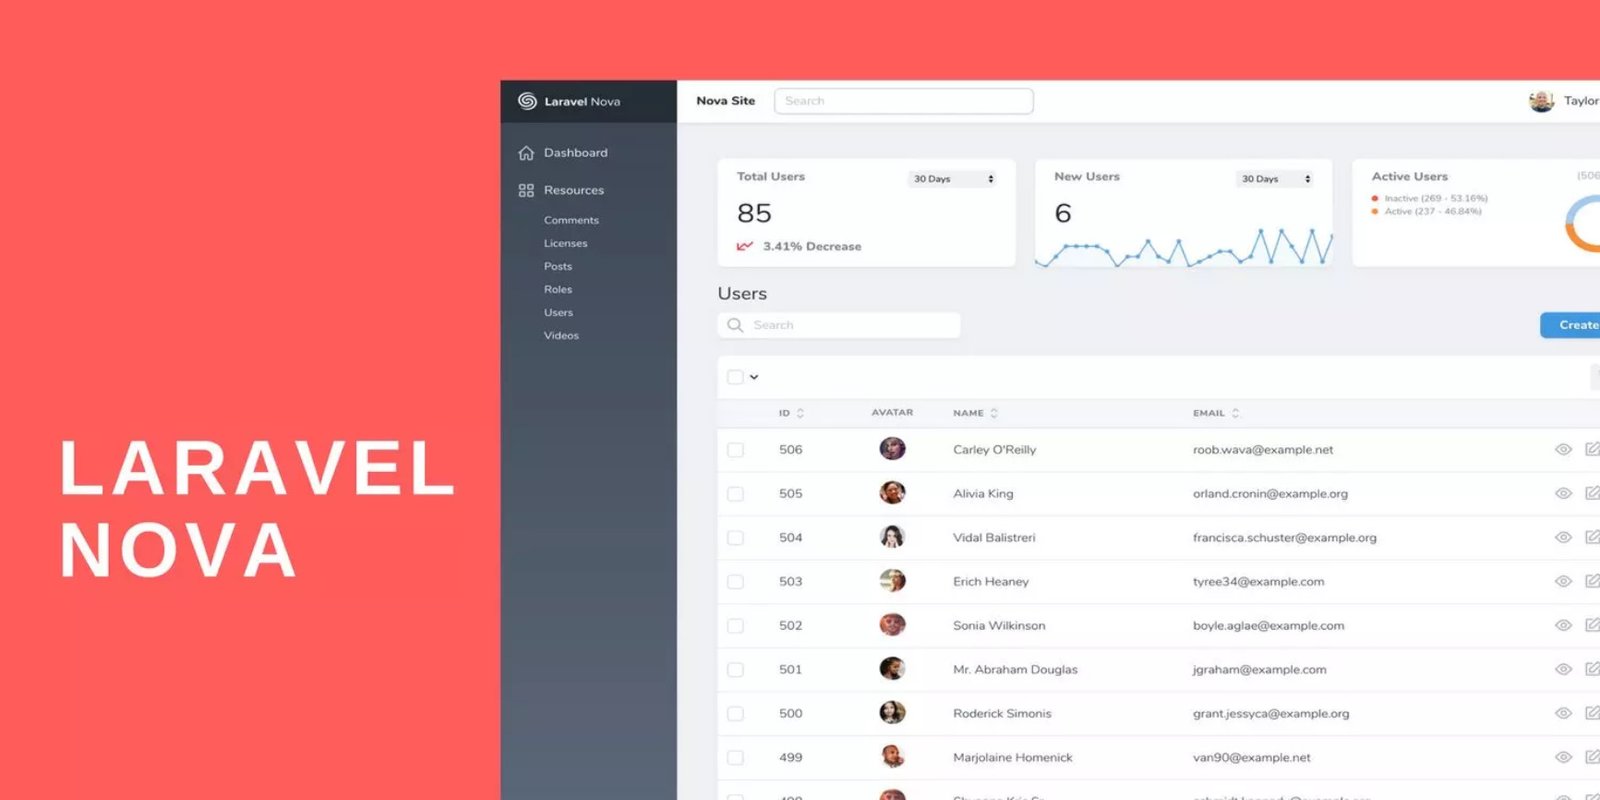
Step 6: Access the Nova Dashboard
You can now access the Nova dashboard by visiting http://yourapp.test/nova in your browser. Log in with your admin credentials, and you’ll have access to an intuitive admin panel to manage your application’s data.
Medium: Customizing Nova Resources
Step 1: Customize Resource Fields
In your Nova resource file (located in the app/Nova directory), you can customize how your model’s fields are displayed. For example, to customize the fields shown in the detail view, use the fields method:
public function fields(Request $request)

{

    return [

        ID::make()->sortable(),

        Text::make('Name'),

        Text::make('Email'),

        // Add more fields here

    ];

}
Step 2: Define Actions and Filters
Nova allows you to define custom actions and filters to manipulate your data. You can add actions for bulk actions like sending emails or filters to refine your data views.
Step 3: Customize Metrics and Cards
You can also customize the metrics and cards displayed on your Nova dashboard to provide meaningful insights into your application’s data.
Hard: Extending Nova
Step 1: Create Nova Tools
Laravel Nova allows you to create custom tools to extend its functionality. You can generate a new Nova tool using the following Artisan command:
php artisan nova:tool MyToolName
Replace MyToolName with the name of your tool.
Step 2: Customize Tool Logic
In the generated tool, you can define custom logic, views, and actions to suit your needs. Tools can be used for various purposes, such as analytics, reporting, or integrating with third-party services.
Conclusion
Laravel Nova is a fantastic tool that simplifies the process of building robust admin panels for your Laravel applications. With this tutorial, you’ve learned how to install Nova, create and customize resources, and extend Nova’s functionality with custom tools. As you delve deeper into Nova, you’ll discover numerous features and customization options to make your admin panel exactly what you need. Happy coding!