
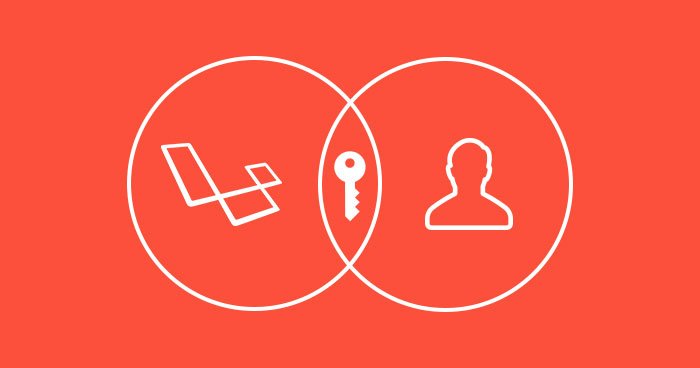
Understanding Laravel’s Authentication System
Understanding Laravel’s Authentication System
Laravel provides a robust and flexible authentication system that makes it easy to implement user authentication and authorization in your web applications. In this tutorial, we’ll dive into Laravel’s authentication system to help you understand how it works and how to use it effectively in your Laravel projects.
Prerequisites
Make sure you have a Laravel project set up.
composer create-project --prefer-dist laravel/laravel project-name
Basics of Laravel Authentication
Laravel’s authentication system is built on top of the Laravel framework and includes several components:
- User Model: Laravel provides a
Usermodel out of the box, which represents the users of your application. You will find this model in theappdirectory. - Authentication Routes and Controllers: Laravel includes pre-built routes and controllers for common authentication actions like login, registration, password reset, etc. These routes and controllers can be found in the
routesandapp/Http/Controllers/Authdirectories. - Authentication Middleware: Laravel uses middleware to protect routes that require authentication. The
authmiddleware is used to ensure that only authenticated users can access certain routes. - Authentication Guard: Laravel uses guards to define how users are authenticated. The default guard is usually set to
web, which uses sessions for authentication. You can also create custom guards if needed.
Easy: Setting Up Authentication
Step 1: Run the Authentication Scaffolding
To set up authentication in your Laravel project, run the following Artisan command:
php artisan make:auth
Use this command to generate the necessary views, routes, and controllers for authentication.
Step 2: Configure Authentication Guard
By default, Laravel’s authentication system uses the web guard, which uses sessions for authentication. You can configure the authentication guard in the config/auth.php file.
Step 3: Migrate the Database
Run the database migrations to create the necessary tables for user registration and login:
php artisan migrate
Step 4: Start the Development Server
Start the Laravel development server:
php artisan serve
You can now access the registration and login pages in your web browser.
Medium: Customizing Authentication
Laravel’s authentication system is highly customizable. Here are some common customization options:
Custom User Model
If you want to use a custom user model instead of the default User model, you can specify it in the config/auth.php file:
'providers' => [

    'users' => [

        'driver' => 'eloquent',

        'model' => App\Models\CustomUser::class,

    ],

],
Customizing Views
You can customize the authentication views by modifying the Blade templates located in the resources/views/auth directory.
Adding Additional Fields
To add extra fields to the registration form, modify the register method in the RegisterController found in app/Http/Controllers/Auth.
Customizing Middleware
You can create and customize middleware to protect routes or add additional authentication checks.
Hard: Implementing Role-Based Authorization
To implement role-based authorization in Laravel, follow these steps:
Step 1: Define User Roles
Create a roles table and a role_user pivot table to associate roles with users.
Step 2: Define Roles and Permissions
Create a Role model and a Permission model to manage roles and permissions in your application.
Step 3: Attach Roles to Users
Modify your user model to include a method for attaching roles to users.
Step 4: Define Middleware for Authorization
Create custom middleware to check if a user has the necessary roles or permissions to access certain routes.
Step 5: Protect Routes
Apply your custom middleware to routes that require role-based authorization.
Conclusion
Laravel’s authentication system provides a powerful and flexible way to implement user authentication and authorization in your web applications. Whether you need simple user registration and login or complex role-based access control, Laravel’s authentication system can be tailored to meet your needs. Understanding how to configure and customize authentication is essential for building secure and feature-rich web applications with Laravel. Happy coding!